Well I can't speak for your location, but here in Tennessee we had record- breaking heat this summer. The Fourth of July week brought record temps in excess of 110 degrees. That left us with two choices-in the water or inside the boat. Needless to say outside maintenance was voted down.
Now fall is here and we have an opportunity to do some much needed outside maintenance or in this issue, updating. I'm referring to the painted graphics on our boats. Even if your color pallet is still in date and you like it, chances are it has been damaged or at the least faded due to the heat and UV rays. In this column I want to share what's possible with a little thought and elbow grease.
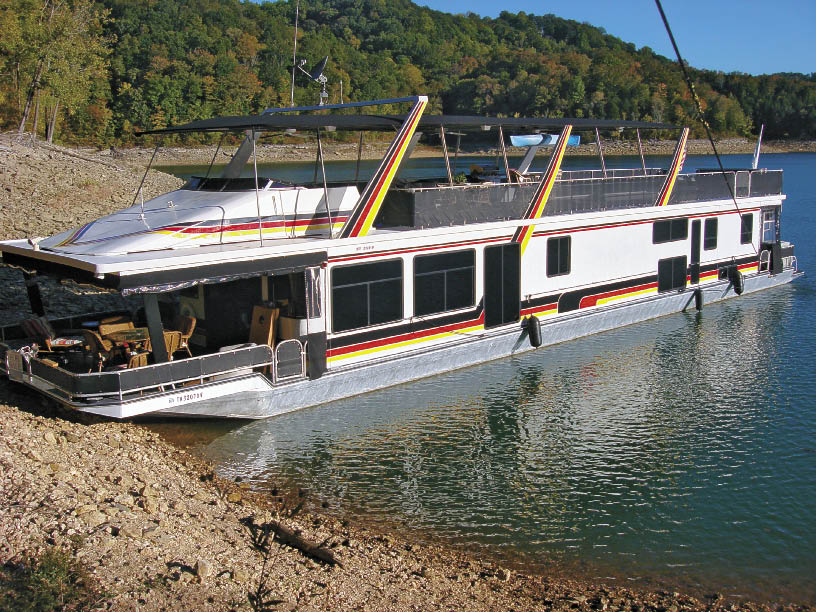
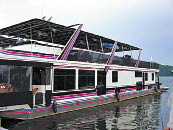
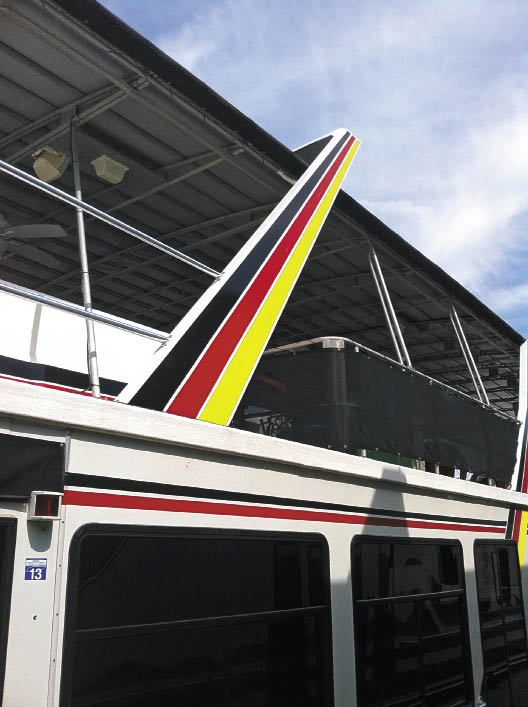
As you can see in the pictures, these are from our last boat-before and after painting. The new owners changed the yellow to a color they liked. Nothing personal to the owners of this houseboat prior to us (or possibly your boat) but teal, purple and pink etc. are the great colors of the 1990s. They are like interior accessories; they tend to get outdated quickly. The point here is they are easily changed to something more up to date color wise. I will say without major work, the design layout is going to be there for the long haul. You have to agree it's just paint and changing it is very easy and not complicated.
Step One
 First figure out if you would like a different set of colors and what they will be. Once the decision has been made as to the new colors, work can begin. The first task is to clean the area to be repainted in sections with the appropriate solvent cleaner. What I mean by this is you will need to know what type of paint you will be using. Example, if painting with oil paint you will clean with mineral spirits. Preparing the area before sanding will remove any wax thus not sanding the wax into the surface to be refinished. FYI I recommend using oil based paints. You can actually use other automotive forms of enamels, but they are more suited for professionals. The oil based paints are very durable and are easily applied with a very good brush. I don't recommend using rollers they tend to leave stubble.
Next
 Now after cleaning the area you can tape off the area that will be
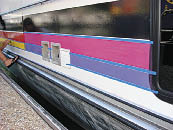
 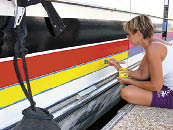 painted. As you can see in the picture you need to leave a little white showing so when you apply the new color none of the old color will be accidently still there. I like to use automotive vinyl tape because it will not bleed through and is very flexible allowing you to tape off lines that are not straight. After you have a section taped off, sanding can begin. If your existing paint is in decent shape you actually can simply scuff it off using a scuff sponge similar to a Scotch-Brite pad. Once you are sure the entire area has been sanded you will again clean the area to paint using the appropriate cleaner again. Let it evaporate or dry completely before moving forward.
The Fun Part
 Now we are ready to start painting. Make certain your paint is
 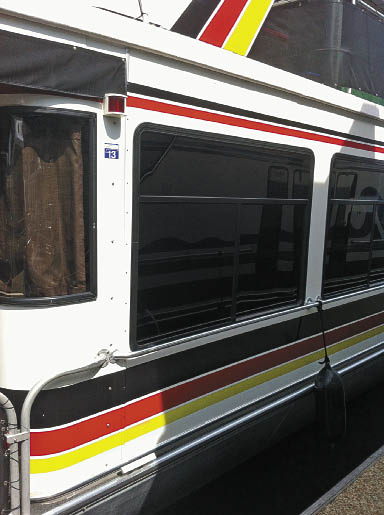 mixed well and thinned if needed so you get a good coat, but not too runny. I suggest painting a test area on something smooth like the boat, but not the boat. Once satisfied with your test area then apply the new color. Try to paint with enough paint just to cover the old. There will be no reason for multiple coats. My wife Merri covered-as you can see in the pictures-everything in one coat. She used a brand of paint called ONE SHOT. This comes in a color wheel of colors and is designed for sign painting and old school pin striping. It has been used by professionals for years. It flows and covers like no other and will make you look like a pro as well. Once you have your color on allow it to tack over well, but not completely dry and carefully remove the tape pulling it
 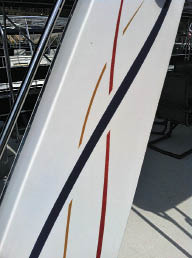 backwards so it will break away. Remember me saying vinyl
 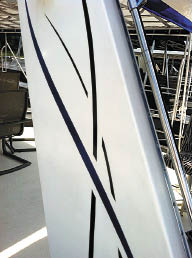 tape? This is where you will be glad you used it. Your lines will be a reflection of exactly what you taped with no bleeding.
One Section At A Time
Moving forward, repeat the above steps and continue on. I think starting sections no bigger than what you have time to complete in any given color is the smart way to work. Remember it's not a race and finishing a section at a time will really keep you looking like the pro you are when finished. In just a few weekends you can do this and have an updated houseboat. Let's face it, most of them look pretty much the same but colors tell their age not their design. When you're finished and the paint has had a few weeks to cure out completely, a good coat of wax will help protect it from the harsh winter months that lay ahead. If you have specific questions on this topic or any other subject please just ask.
 Uncle Ricky
"Ask Uncle Ricky" is a recurring column in Houseboat magazine. For other houseboat maintenance tips please visit www.houseboatsAtoZ.com.